
PHOTO GUIDES · 3 MIN READ
How to move photos to cloud storage without losing originals
· CloudWink team
Moving a photo library should end with files you can actually recover. The safest process is to copy first, verify second and only then consider removing local files. This guide works whether you are moving a recent album or starting to organize years of photographs.

1. Prepare the source collection
Identify where the originals live. A messaging download, screenshot or social-media export may already have reduced quality. Uploading it cannot restore information removed earlier.
Check whether your phone currently holds full-resolution originals or optimized copies supplied by another service. If originals live elsewhere, use that service’s official download or export process. Include paired assets and metadata you need, and confirm what the destination supports.
2. Check the destination and connection
Confirm accepted formats and available capacity before starting. Videos often account for much of a transfer, so inspect file sizes instead of estimating from photo count alone.
Use a reliable connection and follow the app’s guidance for background uploads. Mobile operating systems may pause work, and battery-saving settings can affect progress. Avoid interpreting an upload started notification as completion.
3. Upload manageable batches
Begin with one small album containing different file types. Keep a simple record of which collections you have transferred. Once the test batch works, continue by month, year or event.
CloudWink stores supported uploads without resizing or re-encoding and verifies them on arrival. Its library is built for photos, videos, audio and PDFs. Check actual completion status while transferring, especially after the connection changes.
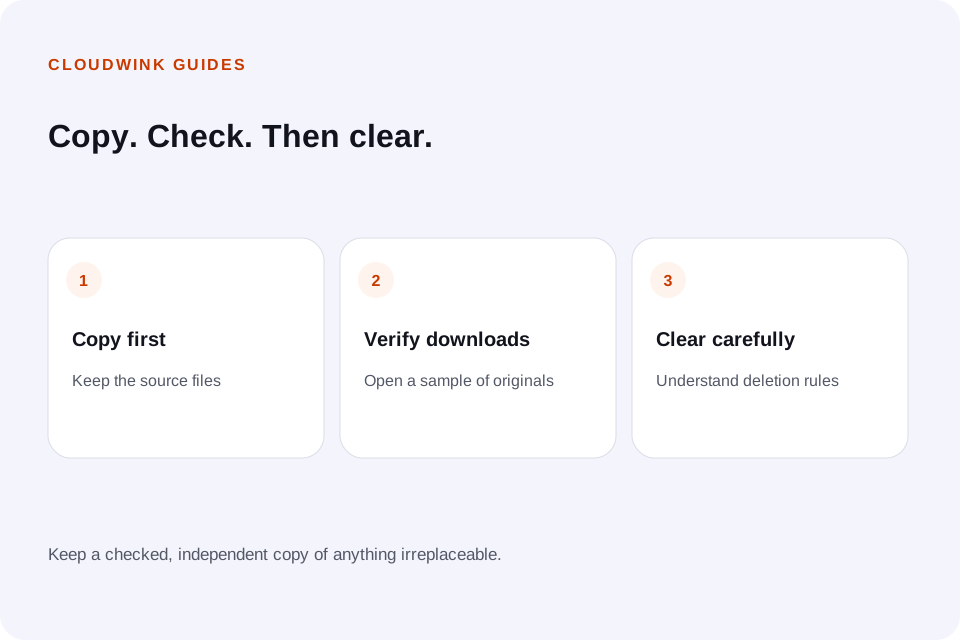
4. Verify files you can download
Compare counts and total sizes where those figures are available. Then download several files from the destination: an old photograph, a recent image, a large video and any less common format you care about.
Open the downloaded files and check resolution, playback and the metadata you need. For a byte-for-byte check, compare cryptographic checksums of the actual source and downloaded file. Preview quality alone cannot confirm original-file integrity.
5. Free local space only after verification
Understand whether the action you are about to use removes a phone copy or deletes an item from a synchronized library. These can have very different effects.
CloudWink’s Free Up Space feature removes eligible local copies only after the stored copy is confirmed. Retain an additional independent copy of irreplaceable files before large cleanups. Do not empty recovery folders until you are satisfied with the transfer.
6. Test the habit, not just the first transfer
After the initial move, check that new captures are reaching your chosen destination. Review storage availability and occasionally repeat a sample download.
A completed migration is a good start. A repeatable routine is what keeps next month’s photographs from becoming another unprotected collection.
Follow the iPhone storage cleanup guideQuestions about this guide.
Should I delete my photos immediately after uploading?
Wait for confirmed completion, test downloads and keep an independent copy of irreplaceable material. Understand the difference between deleting locally and deleting from a synced library first.